


How to preheat an air fryer correctly for optimal cooking results
The quick, precise ritual of warming a compact convection cooker can transform weeknight meals into restaurant-style plates. This article dissects the art and science behind preheating an air fryer so that every ingredient meets the ideal temperature setting, cooking time and airflow for consistent results. Balanced between practical steps and the physics of hot-air cooking, the following pages explore why a short moment of empty heating matters: it primes the chamber for the Maillard reaction that builds flavour and crispiness, reduces overall cooking time, and improves energy efficiency by avoiding repeated heat climbs mid-cycle. A fictional home cook—Maya, a city-based food entrepreneur who tests recipes for a supper-club series—anchors examples, illustrating how tiny adjustments in preheat duration and basket arrangement yield dramatically different food texture outcomes. Readers will find model-specific tips, a practical table of recommended preheat settings for common foods, troubleshooting tactics and curated references to hands-on guides for deeper reading. Expect clear, actionable directions that respect the variety of modern kitchen appliances and the evolving recipes of 2026.
In brief:
- Preheat for 3–5 minutes at recipe temperature for most air fryer models to unlock optimal cooking results.
- Frozen items and thick cuts benefit from higher preheat temps (around 400°F / 200°C) to secure crispiness and even heating.
- Delicate foods sometimes do better without preheating—adjust the approach depending on food texture goals.
- Use model features where available; many modern units include a dedicated preheat mode that simplifies the process.
- Maintain clean heating elements and baskets to maximize energy efficiency and predictable cooking time.
How To Preheat An Air Fryer Properly For Perfect Results: science, benefits and a home cook’s checklist
Preheating an air fryer is not an arbitrary kitchen ritual; it is a deliberate calibration of hot air, surface chemistry and airflow. The device functions as a compact convection oven: a fan circulates heated air rapidly around food, prompting the Maillard reaction and efficient moisture exchange that produce brown, crisp exteriors and tender interiors. That initial heat ramp-up is crucial. By bringing the entire cooking chamber and the basket to the target temperature setting before food enters, the appliance begins to work on texture and flavor immediately rather than struggling to climb temperature during the cooking cycle.
Consider Maya, who operates pop-up dinners on weeknights. When testing a new battered shrimp recipe, the difference between starting in a cold unit and a preheated unit was dramatic. The preheated run produced shrimp with an immediate crisp shell and a moist interior; the cold start produced greasy, unevenly cooked pieces. That experience demonstrates a few key benefits of preheating: even cooking, consistent food texture, shorter overall cooking time, and more predictable results when scaling recipes.
Beyond texture, preheating enhances food safety by reducing the time ingredients spend in temperature zones favourable to bacterial growth. For households experimenting with meal prepping, this is a practical advantage: preheating helps guarantee that thick proteins reach safe internal temperatures more rapidly. Models with fast-heat elements reach recipe temps in about three minutes, while larger basket ovens may require more time—factors that will be discussed in the next sections.
Finally, preheating can improve energy efficiency. A unit that starts warm avoids repeated heating cycles, which can be less efficient than a single short preheat followed by stable cooking. Careful cooks who track electricity use will notice smaller incremental draws when the device is already at temperature.
Practical checklist before preheating:
- Confirm the recipe’s recommended temperature and set the appliance accordingly.
- Ensure the basket is empty and positioned correctly to warm uniformly.
- Prepare ingredients while the device reaches temperature to avoid delays.
- Use the preheat function if the model provides one; otherwise set the desired temp and a 3–5 minute timer.
Key insight: Preheating aligns the appliance’s thermal state with recipe demands, turning the initial minutes into active cooking time that enhances texture, speed and safety.
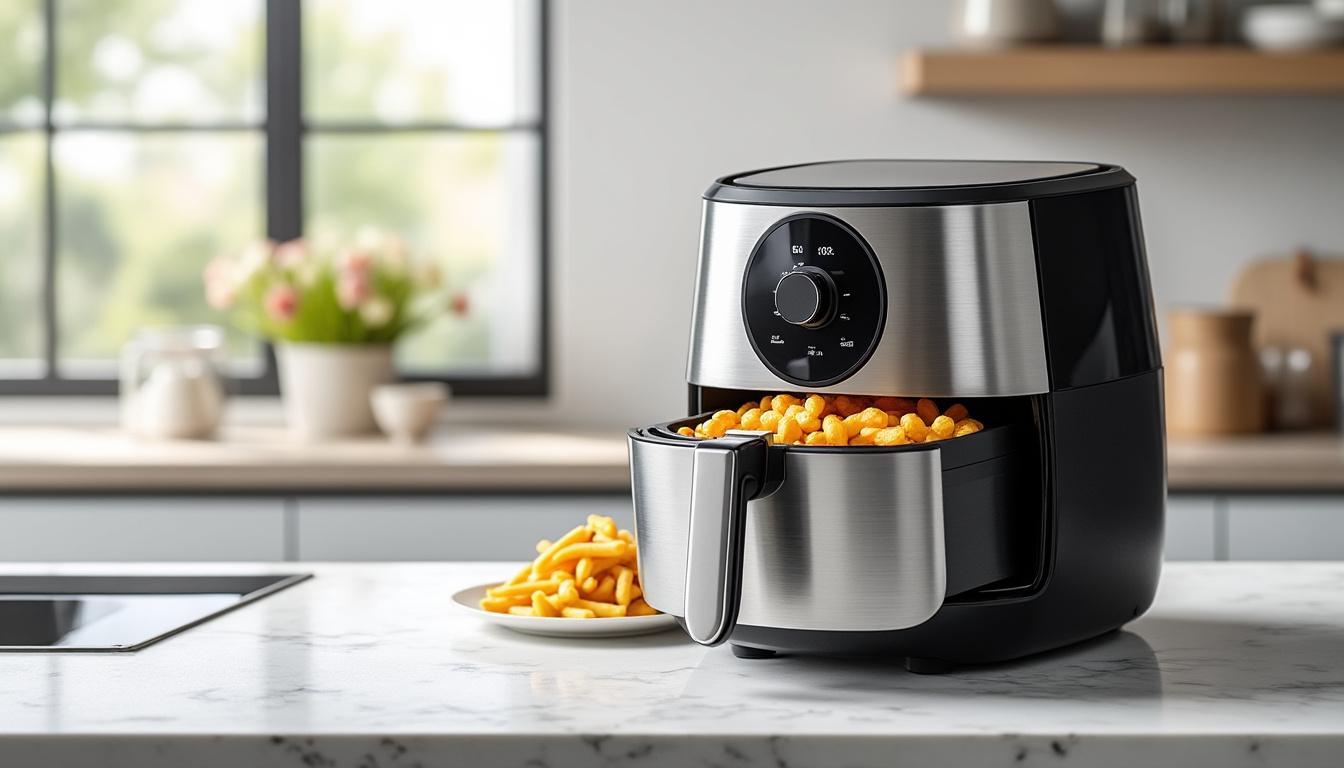
Step-by-step guide to preheat your air fryer: exact temperature settings, cooking time and model variations
The preheat ritual can be broken down into consistent steps that apply across brands and sizes. Start by choosing the correct temperature setting for the food—this is the foundation of optimal cooking. Common ranges are 350–400°F (175–200°C) for most savory items and 320°F (160°C) for delicate baked goods. Once the temperature is chosen, set a short timer; most modern units need only 3–5 minutes. Small countertop models heat faster (2–3 minutes), while larger ovens may demand 5–7 minutes. In each case, the preheat period should be long enough to allow the heating element, fan and basket surfaces to stabilize.
Step-by-step:
- Plug in and power on the unit.
- Select the desired temperature setting indicated by the recipe.
- Set a timer for 3–5 minutes (adjust for size as noted above).
- Run the fryer empty—basket in place—until the timer elapses or the preheat indicator signals readiness.
- Add food in a single layer, avoiding overcrowding, then reduce the published cooking time by 1–2 minutes if the recipe assumes a cold start.
Different models lighten or complicate this procedure. Some air fryers include a one-touch “Preheat” button and an audible or visual indicator when the unit reaches temperature. Others require manual input of temp and time. For visual learners, many manufacturers provide how-to videos and manuals; for a tested manual explanation, review a practical walkthrough on preheat instructions. For deeper troubleshooting and comparative guides, a succinct online primer such as the Guide to preheat an air fryer clarifies model-specific subtleties.
Table of recommended preheat temperatures and durations (general guidelines):
| Food Type | Preheat Temp (°F / °C) | Preheat Time | Notes |
|---|---|---|---|
| Frozen snacks (fries, nuggets) | 400°F / 200°C | 4–5 minutes | Crispier exterior; spray lightly with oil |
| Fresh vegetables | 375°F / 190°C | 3 minutes | Promotes caramelization without drying out |
| Chicken wings / thick proteins | 380–400°F / 193–200°C | 4–5 minutes | Seals juices and aids even cooking |
| Baked goods (muffins, pastries) | 320°F / 160°C | 3–4 minutes | Gentler heat for proper rising |
| Steak / seared cuts | 400°F / 200°C | 5 minutes | Fast sear, then reduce temp if needed |
Maya’s experiment offers a concrete example. Testing a 1-inch pork chop at 400°F: preheating for 5 minutes produced a well-seared exterior in the first four minutes of cooking and required shorter total cooking time than the cold-start trial. Tight control of the temperature setting enabled an even internal color and consistent texture across batches—key for a supper-club lineup where guests expect uniform plates.
Key insight: Follow the recipe’s temperature, use 3–5 minute preheats as a baseline, and adjust by fryer size—these steps standardize results and reduce variation in cooking time and texture.
Preheating techniques for specific foods: frozen items, meats, vegetables and delicate baked goods
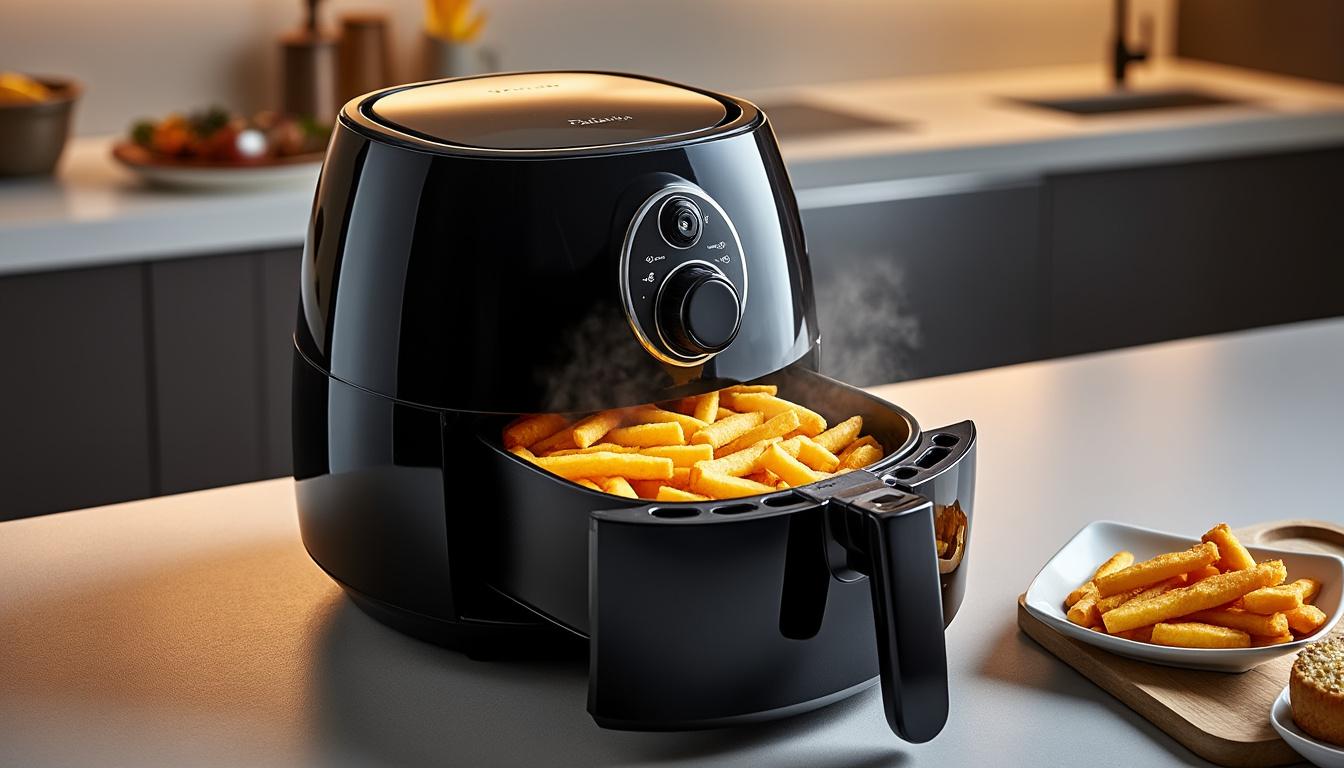
Choosing whether and how to preheat depends strongly on the ingredient. Frozen foods benefit the most from an initial heat spike: a preheated chamber immediately removes surface moisture from frozen items, encouraging rapid browning and that sought-after crispiness. For frozen fries or nuggets, preheating to 400°F for approximately five minutes consistently produces a crunchy exterior without overcooking the interior.
Meats and thick proteins have distinct needs. A high temperature setting at the start—typically 380–400°F—creates a fast surface sear that locks in juices. For steaks, this first sear also develops complex flavours via the Maillard reaction. After a short sear phase, reducing temperature or using intervals can ensure even cooking to the desired doneness. For poultry, especially bone-in pieces, preheating reduces time spent in the “danger zone” and helps render fat for crisp skin.
Vegetables present an opportunity to vary the approach. Root vegetables and sturdier pieces like cauliflower respond well to preheat at 375°F for three minutes, which encourages caramelization and a pleasant bite. Conversely, delicate leaves and thinly sliced zucchini may fare better when placed into a slightly cooler chamber or started cold, preventing over-drying. Baked goods such as muffins or tarts generally require a gentler preheat—around 320°F—to allow proper rising without prematurely setting the exterior.
Practical technique examples:
- Frozen fish sticks: preheat to 400°F, spray lightly with oil, cook 8–10 minutes—flip halfway.
- Chicken breast: preheat 400°F, sear 3–4 minutes per side, then lower to 360°F to finish until internal temp is safe.
- Roasted carrots: preheat 375°F, 12–15 minutes total with a toss at halfway for even caramelization.
- Muffins: preheat to 320°F, fill molds immediately after preheat and bake as directed; slight preheat aids lift.
Cooking time adjustments are vital. When adding food to a preheated unit, the recipe’s listed time may be slightly longer if it assumes a cold start. A good rule is to reduce the stated cooking time by about 10–15% when the fryer is thoroughly preheated. For iconoclastic cooks who experiment frequently, maintaining a small notebook—Maya’s approach—is useful: record the model, basket load, temp, and exact time to build a recipe-specific log. This habit corrects for variations between brands and helps achieve consistent even cooking across batches.
Finally, oil use should be tuned to the food type. For breads or battered foods, a light spray added after preheating ensures optimum surface contact and reduces the risk of smoke from burning oil during the empty preheat period. For reheating leftovers, a short preheat revives crisp textures without over-drying—pizza, for example, benefits from a 3-minute preheat at 350°F, then 3–5 minutes of reheating depending on thickness.
Key insight: Match preheat intensity to the ingredient: frozen and thick cuts require higher, longer preheats while delicate items often need lower or no preheat to protect texture.
Common preheating mistakes, troubleshooting and energy-smart habits for reliable results
Even experienced cooks can stumble around the preheat step. The most frequent errors are simple but consequential: overcrowding the basket, adding oil during preheat, and ignoring manufacturer guidance. Overcrowding disrupts airflow and compromises even cooking. When a basket is packed, hot air cannot reach all surfaces, leaving cold pockets and inconsistent food texture. The corrective measure is straightforward: arrange food in a single layer or cook in batches.
Adding oil during preheating is another misstep. Untethered oil droplets can heat and smoke quickly when the unit is empty, creating unpleasant odours and sticky residue. The safer practice is to lightly oil food right before it enters the preheated chamber, or use an oil mister to apply a thin, even film that enhances browning without burning.
Model variability also leads to mistaken expectations. Temperature sensors, element placement and fan design vary across brands, producing measurable differences in real-world performance. If results are unpredictable, a simple kitchen thermometer placed in the basket can verify whether the unit actually reaches the programmed temperature setting. For step-by-step manufacturer recommendations and model-specific notes, consult a practical overview like the wikiHow preheat guide.
Energy-savvy practices help keep cooking efficient:
- Group items by temperature needs to reduce repeated preheating cycles.
- Use the preheat function when available to avoid unnecessary heat-up time.
- Keep the appliance and heating element clean to maintain efficient heat transfer.
Another common issue is preheating with parchment paper or foil already in the basket. Lightweight liners can flutter into the heating element, posing smoke or fire risks. Add liners only after preheating and secure them under food. Also, resist preheating with food inside: it skews heat distribution and interferes with achieving that initial searing action.
Troubleshooting examples:
- If fries are limp: increase preheat by one minute and ensure single-layer spacing.
- If meat surface burns before interior cooks: shorten preheat slightly and reduce initial temp, or sear briefly then lower to finish.
- If the unit smokes during preheat: clean the basket and element, and avoid excess oil.
These operational corrections often restore consistency. If uncertainty remains, cross-reference a concise manual or tutorial such as expert preheat instructions to reconcile model-specific recommendations with practical kitchen realities.
Key insight: Avoid common preheating mistakes by prioritizing airflow, timing oil application correctly, and tuning methods to the individual air fryer model for steady, energy-efficient results.
Choosing the right air fryer and using built-in preheat features to achieve optimal cooking
Selecting the proper appliance and understanding its preheat function are decisive for repeatable outcomes. Air fryers range from 1–2 quart personal models to multi-rack convection ovens. Size affects preheat duration: compact units heat rapidly, while air fryer ovens require more time. Consider how the appliance will be used. A solo diner might prioritise speed and small capacity, while a caterer or large family benefits from a larger chamber and multiple racks.
Popular brands have specific preheat behaviours. Ninja and Cosori often include dedicated preheat modes and quick heat-up cycles. Philips models are engineered for even airflow but sometimes lack a labeled preheat button—manual setting and a short wait suffice. When deciding, it helps to read buyer’s guides that explain features to weigh, such as programmable presets, preheat capability, and rack configuration. For a structured look at functionality and features, consult a detailed buyer’s resource like the guide on how to use an air fryer and the technology behind it: how to use an air fryer and how an air fryer works.
Maintenance and calibration matter as much as features. Clean units preheat more predictably because soot and grease on elements impede heat transfer. Periodic checks—such as timing a cold-to-temperature run and noting that duration—create expectations for future cooking time planning. For instance, if a model reliably takes five minutes to reach 400°F when cold, this becomes a predictable value to subtract or add to published cooking times.
Practical selection tips:
- If consistent searing is a priority, choose a model with powerful elements and a strong fan to support even cooking.
- For frequent baking, favour an oven-style air fryer with larger internal volume and stable temperature control.
- Investigate models with explicit preheat modes if convenience is essential.
Maya’s supper-club picked a mid-size model with programmable preheat and reversible racks. That choice enabled rapid transitions between courses and maintained consistent plate-to-plate texture for multiple guests. The investment in a well-featured unit paid off through time saved, fewer reheats, and superior plating consistency.
Key insight: Choose a model that matches cooking habits and prioritise preheat features, maintenance and predictable warm-up times to get the most reliable results from this kitchen appliance.
Do you always need to preheat an air fryer?
Not always. Preheating is beneficial for foods that require a crisp exterior or have short cooking times, such as frozen snacks, steaks and breaded items. Delicate vegetables, shrimp or certain baked goods may be started in a cold fryer; follow recipe guidance to decide.
How long should an air fryer be preheated?
Most units need about 3–5 minutes depending on size and target temperature. Small models often preheat in 2–3 minutes, medium units in 3–5 minutes, and large ovens in 5–7 minutes.
Can preheating reduce cooking time?
Yes. Because the unit starts at the desired temperature, food begins cooking immediately. Expect slight reductions in overall cooking time—often 10–15%—when adding food to a preheated air fryer.
Should the basket be in the fryer during preheat?
Yes, preheat with the basket in place to ensure the cooking surface reaches the same temperature as the chamber. Avoid liners during the empty preheat stage to prevent them from blowing around and touching the element.